Taking Control of a Cheap Macro Ring Flash
This post has been moved to our new site at www.photobuilds.com: it can be found here.
For now the photos have been retained so you can see if the end product is of interest, but the full post can be found by following the link above.
Warning: this project requires opening the body of a strobe/flash unit containing a capacitor that holds enough charge at a high enough voltage to stop your heart if you discharge it through yourself. Therefore don’t try to follow this modification unless you have enough knowledge of electrical engineering to do it safely.
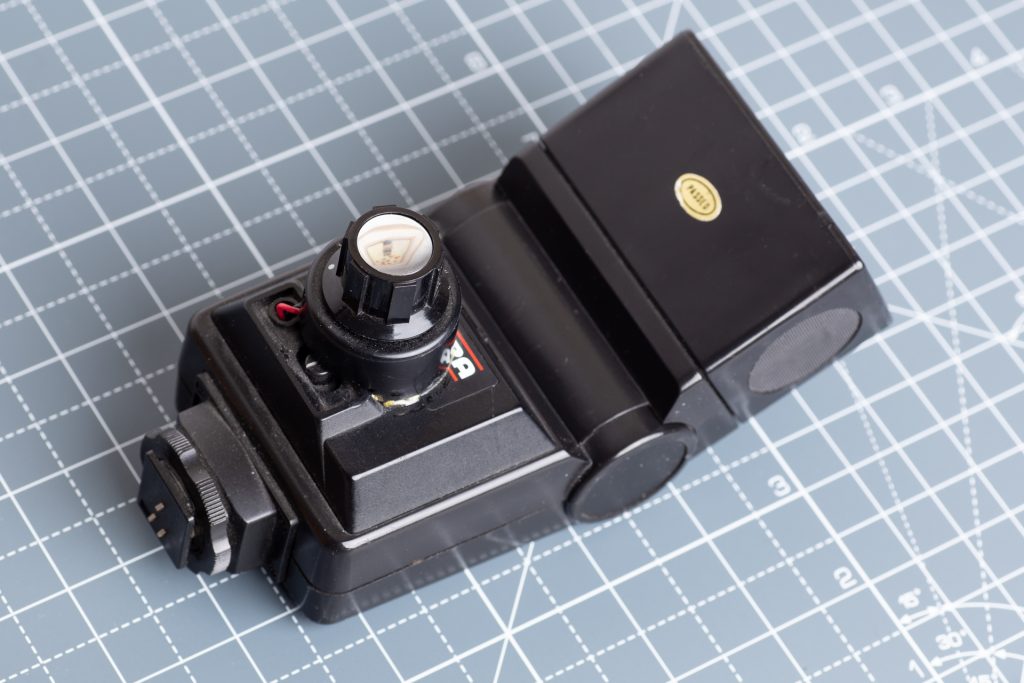
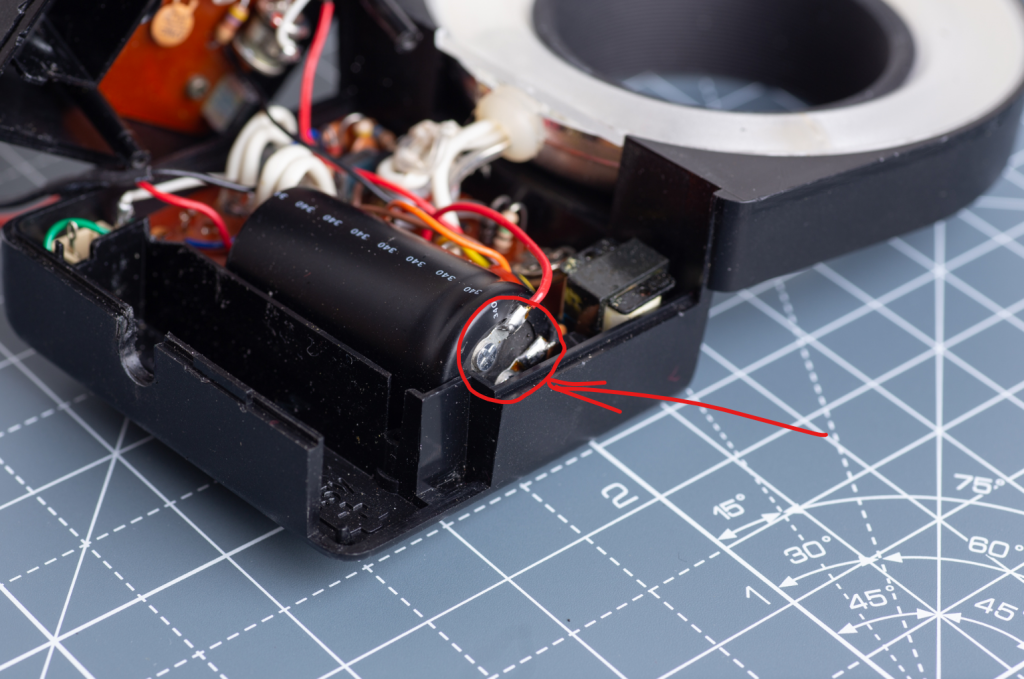
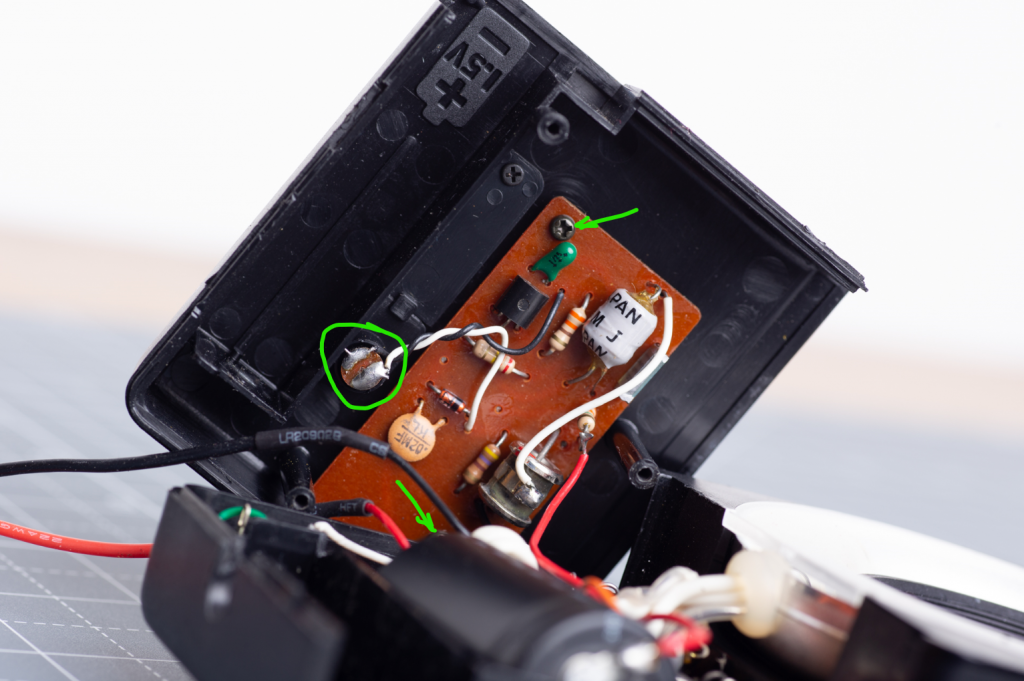
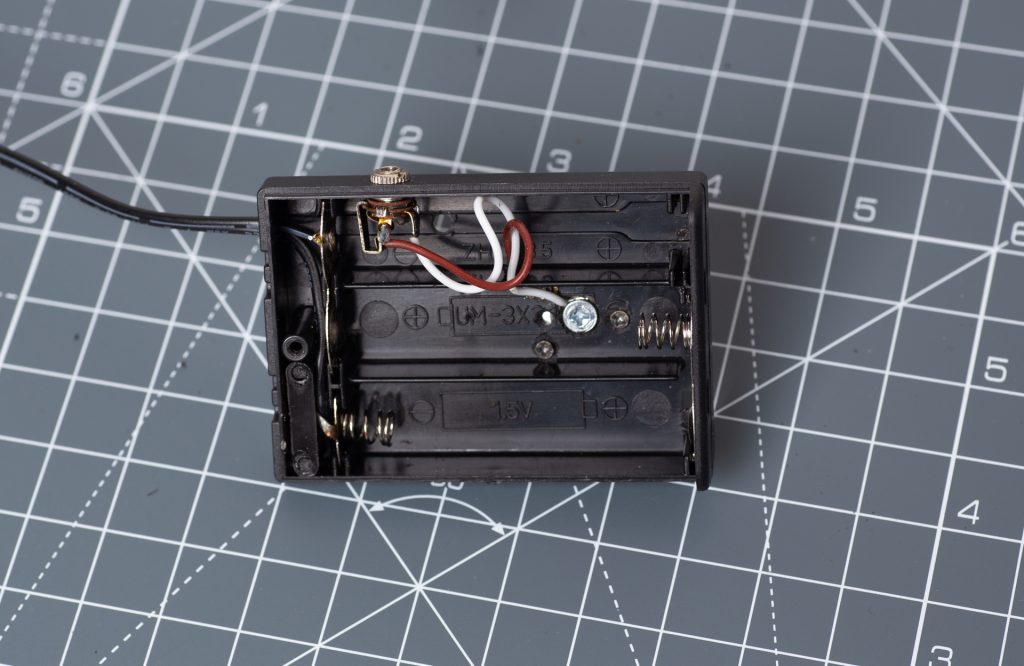

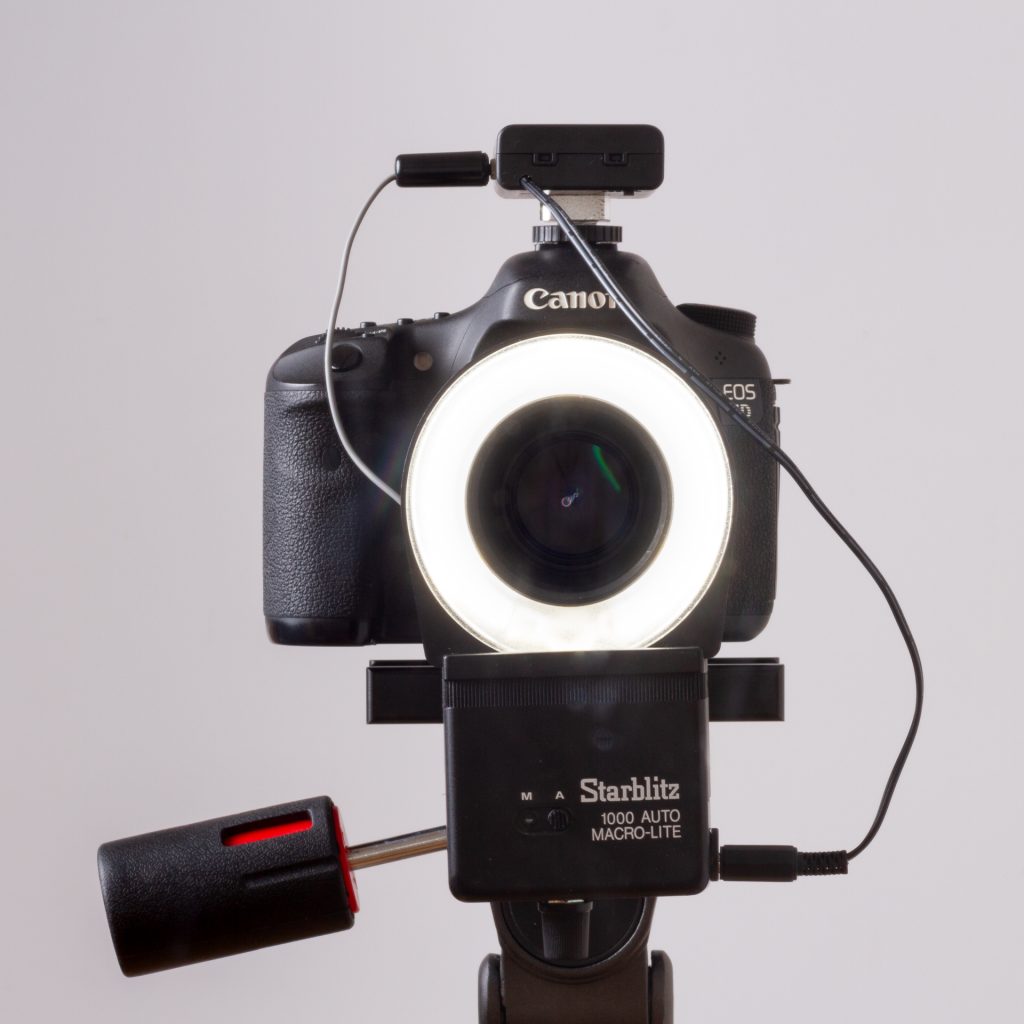

For those that do not have the required technical skills (or equipment) to perform modifications to ring flash units :
(Applicable to Vivitar 5000 and Starblitz 1000 macro ring flash units which cause over-exposure at very close ranges)
The use of ND filters at very close ranges (closer than 200mm) is one solution to solving over-exposure issues due to the flash unit’s Auto Mode not being able to function properly (at very close ranges).
An ND4 was found to allow a fair degree of latitude for exposure experimentation.
Remember that a CPL only acts as an ND2, but might prove useful depending on circumstances.
Bear in mind that the use of macro extension tubes automatically introduces an apparent attenuation of incoming light, despite having no internal components. The greater the length of the macro extension tube assembly, the greater the apparent attenuation.
What this means in real terms is that in many (most) instances, ND filters will not be required, and one will probably have to increase the ISO setting to achieve proper exposure.
Some examples:
Using a 32mm macro extension tube at 300mm, ISO 200 and F8 gave good results on a Canon DSLR. Using 52mm of extension tubes (2 tubes) at 200mm, ISO 400 and F11 gave good results as well.
Similar results can be expected from all other DSLRs at these settings.
Wizzard Services (Technical and forensic imaging)